
 公告:
公告:
之前一直使用mysql作为存储数据库,虽然中间偶尔使用sqlite作为本地数据库存储,hive作为简单查询工具,maxcompute作为大数据查询服务等等,但没有感觉多少差别。事实上,我们往往听说SQL-92标准之类的云云!
后来遇上了oracle,且以其作为主要存储,这下就不得不好好了解其东西了。oracle作为商业数据库里的佼佼者,肯...阅读全文>>
1。打开网盘下载以下资料:按照【Oracle 经典教程】进行安装 Oarcel 文档
2. 安装完成后打开配置工具进行配置。
配置连接出错,
Oracle错误:ORA-12541 TNS无监听程序 - MySQL
要注...阅读全文>>
阿里巴巴Java开发手册是由阿里巴巴集团编写的一份规范文档,旨在提供一套统一的编码规范和最佳实践,以帮助Java开发人员提高代码质量和开发效率。
阿里巴巴Java开发手册嵩山版包含了丰富的内容,涵盖了Java语言的各个方面,例如命名规范、代码格式、注释规范、异常处理、并发编程、数据库访问等...阅读全文>>
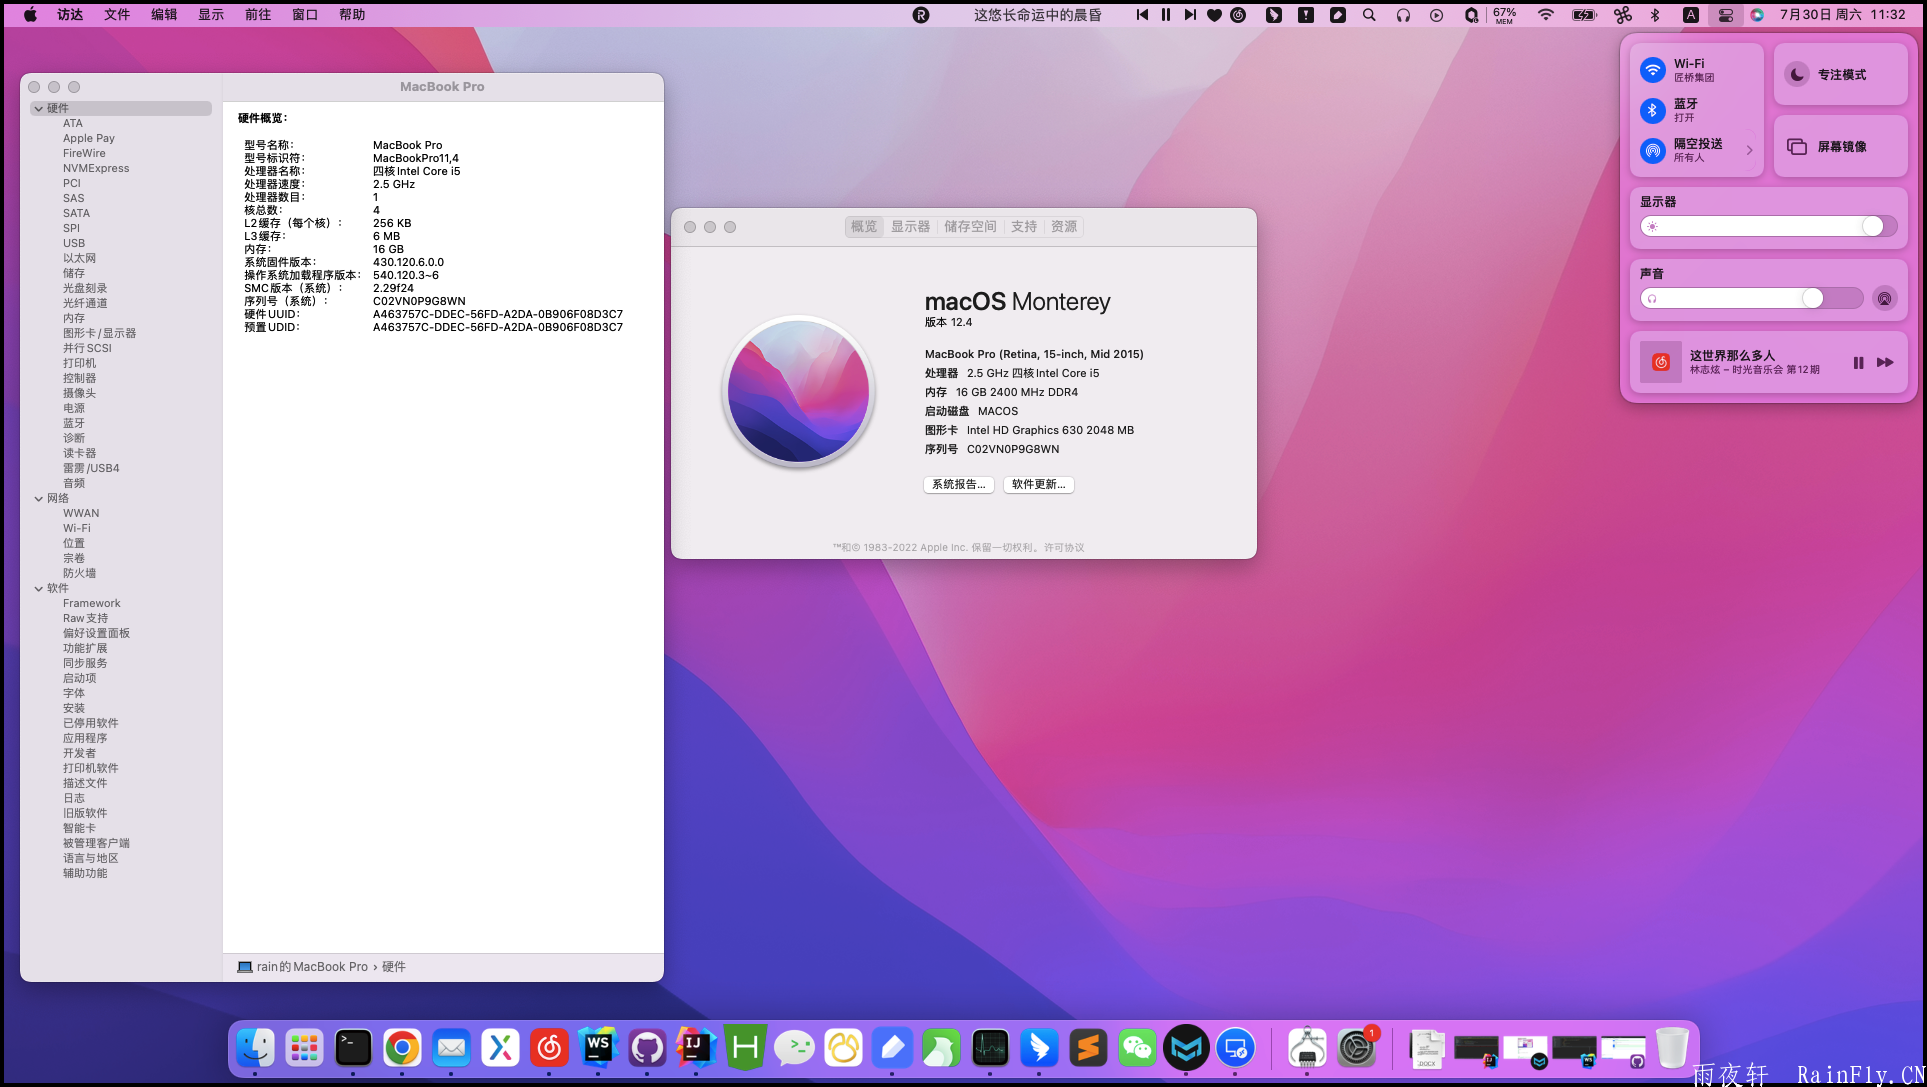
联想拯救者R720安装黑苹果
CPU
核心显卡 Intel HD Graphics 630 2048 MB
独立显卡1050TI
蓝牙
声卡(支持HDMI音频输出)
WiFi
HDMI
睡眠唤醒 (...阅读全文>>
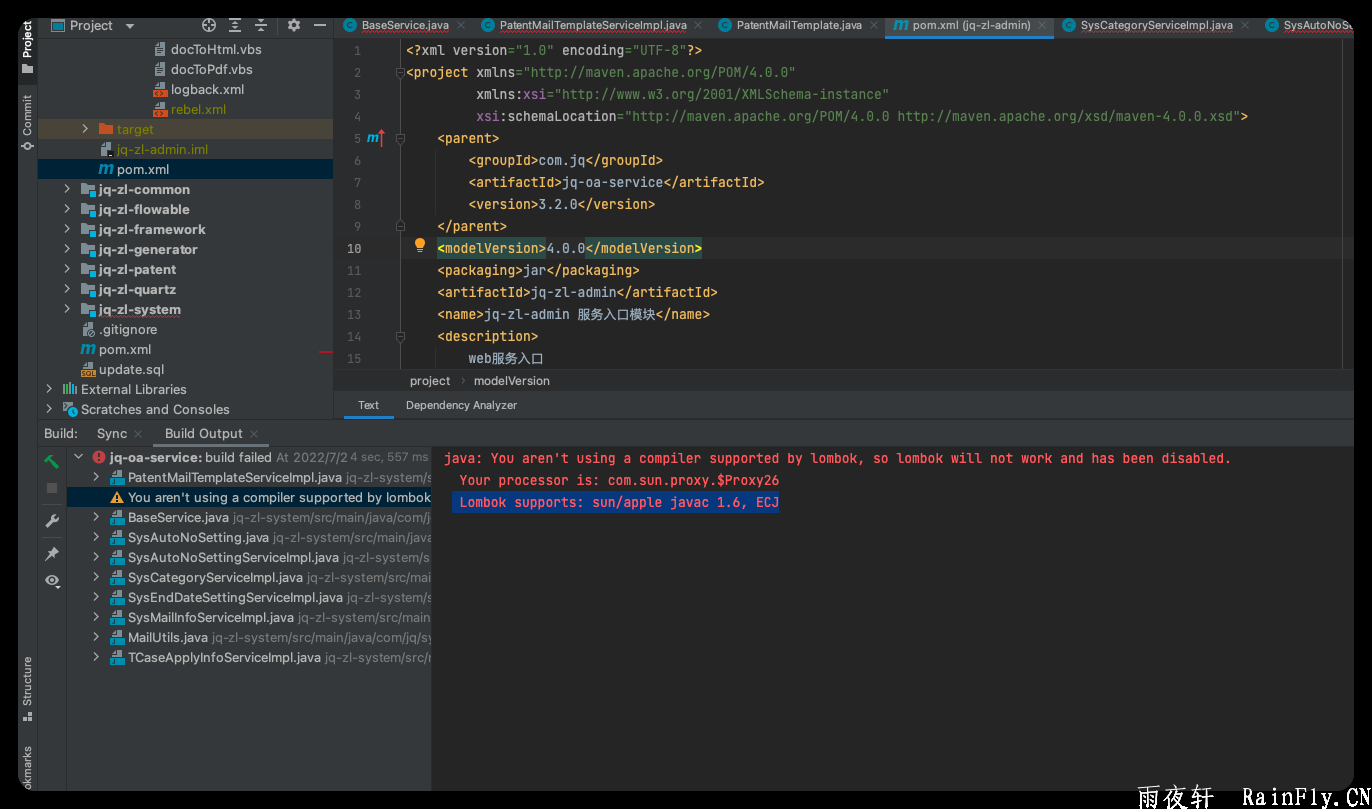
搜索一番,是由于IDEA版本导致的Lombok失效,不过这个问题后来解决了。
所以,我们只需要更新lombok版本,使用1.18.14及之后的版本即可:
<dependency>
<groupId>org.projectlombok</groupId>
<artifactId>lombok</artifactId...阅读全文>>
1.首先先准备好 jdk1.7 linux 和tomcat7的安装包(这里使用的是jdk linux 32位的 文章底部奉上需要的安装包)
2. 将包文件拷贝到用户目录 我这里是 /home/rain/
3.解压 jdk文件 和tomcat文件
...阅读全文>>
外面的 html 文件 index.html:
<!DOCTYPE html>
<html lang="en">
<head>
<meta charset="utf-8">
<title>fullScreen</title>
...阅读全文>>
$("#roomNo").change(function() {
if ($("#roomNo").get(0).checked) {
alert("选中");
}else {
alert("取消");
$("#roomNo_span").remove();
...阅读全文>>
本地有一个工程使用的是Eclipse maven构建的,由于需要将其移动到IDEA中开发,继而将导入步骤做出一下记录,方便查阅
第一步 打开IDEA checkout 源文件
本地需要先安装SVN工具 command line dient tools 必须安装 ...阅读全文>>
一 、官网下载JDK
1.进入Oracle 官网下载 jdk http://www.oracle.com/technetwork/java/javase/downloads/java-archive-downloads-javase7-521261.html
二、解压...阅读全文>>
<?xml version="1.0" encoding="UTF-8"?>
<beans xmlns="http://www.springframework.org/schema/beans"
xmlns:xsi="http://www.w3.org/2001/XMLSchema-instance" xmlns:aop="http://www.springframe...阅读全文>>


 谈谈mysql和oracle的使用感受 -- 差异
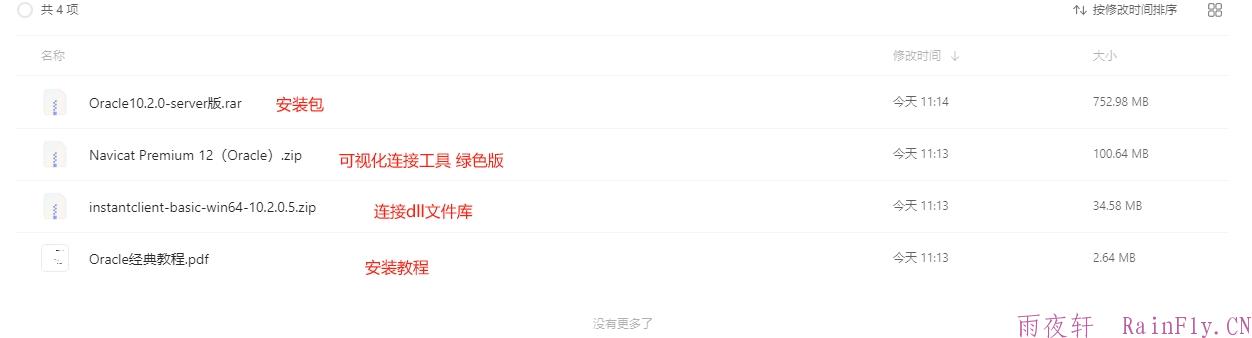


 谷歌地图
百度地图
谷歌地图
百度地图


