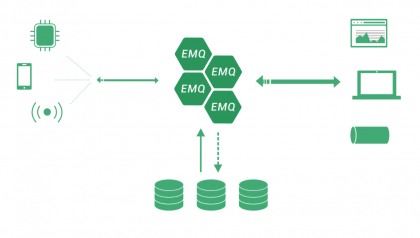
在此文章之前已经使用和分析过mosquito作为 broker开放 1883和9001端口的MQTT功能,现在测试使用emqtt,且深入研究websocket的作用实现。

测试环境是 Ubuntu14.04 x64 位直接下载
安装步骤:
# 启动emqttd
./bin/emqttd start

# 检查运行状态
./bin/emqttd_ctl status

# 停止emqttd
./bin/emqttd stop
web控制台默认端口 18083(阿里云服务器需要在安全策略组中开放端口)
启动成功后登陆后台:查看websocket连接是否成功,检查端口8083和1883是否打开
具体配置emqtt: http://www.emqtt.com/docs/v2/config.html#
搭建完成后调试websocket功能;
本地搭建好web服务器: http://www.rainfly.cn/?post=257
加入调试文件
<!DOCTYPE HTML>
<html>
   <head>
    <meta http-equiv="Content-Type" content="text/html; charset=utf-8">
     <script src="https://cdnjs.cloudflare.com/ajax/libs/paho-mqtt/1.0.1/mqttws31.min.js" type="text/javascript"></script>
       <title>websocket</title>

      <script type="text/javascript">
          client = new Paho.MQTT.Client("60.205.191.68", Number(8083), "");//建立客户端实例
          function MqttConnect() {
                 client.connect({onSuccess:onConnect});//连接服务器并注册连接成功处理事件
                 function onConnect() {   // 连接成功的回调函数
                      console.log("onConnected");
                      client.subscribe("rain");//订阅主题
              }

          }

                client.onConnectionLost = onConnectionLost;//注册连接断开处理事件
                function onConnectionLost(responseObject) {
                    if (responseObject.errorCode !== 0) {
                        console.log("onConnectionLost:"+responseObject.errorMessage);
                        console.log("连接已断开");
                     }
                }

                //接收消息
               client.onMessageArrived = onMessageArrived;//注册消息接收处理事件
                function onMessageArrived(message) {
                    //console.log("收到消息:"+message.payloadString);
                    console.log("收到消息:"+message.payloadBytes[0]);
                }
                //发送消息
                message = new Paho.MQTT.Message("hello");
                message.destinationName = "rain";
                client.send(message);
      </script>

   </head>
   <body>
      <div id="sse">
         <a href="javascript:MqttConnect()">运行 WebSocket</a>
      </div>

   </body>
</html>
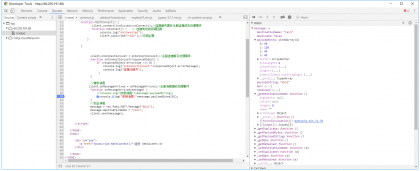
通过加入断点进行调试


评论一下?